TopoFusion as a WMS client
TopoFusion functions as a general WMS client, allowing it to download, display and cache maps a wide variety of internet map servers.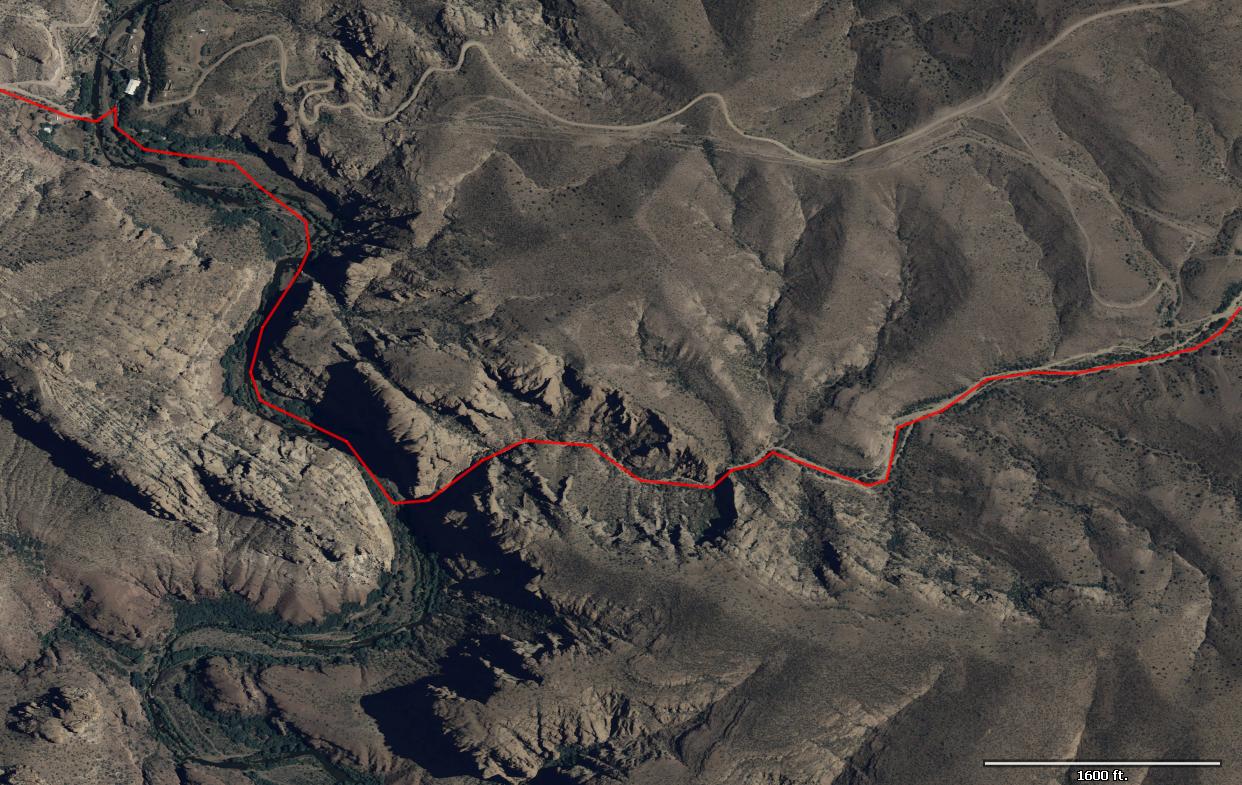
AZ color aerial downloaded from WMS server
Note: Pro Only - WMS capabilites are only available in TopoFusion Pro.
To open the Custom WMS dialog, go to Window->Custom WMS, from the main TopoFusion window. This opens the dialog shown below, which lists all WMS tilesets you currently have configured. TopoFusion comes installed with several high resolution color aerial servers (for such states as Arizona, Utah, New Mexico and Oregon).
Enabling / Disabling Tilesets - The checkbox next to each Tileset controls whether it is enabled or not. When disabled the tileset will not show up in the Tileset selector in the upper right corner of the main TopoFusion window.
Start by enabling those states you are interested in. Keep in mind that if your current map position is not in the state covered by that tileset it will likely download blank tiles.
Adding a new Tileset / Server
To add a new server, click the "Add New Server" button.
Server - the domain name of the server with no protocol prefix or slashes. (e.g. "imagery.azmap.org")
NOTE: for SSL over HTTPS use "https://" in front of the server name. (e.g. "https://server.com"), otherwise non-SSL is assumed.
Request - this field controls the WMS request made to the server. You first need to figure out the script prefix or service name for your server. Check the documentation and look for an example WMS request for the server. An example WMS request looks like this: (all one line)
cgi-bin/mapfiles/imagery_wms?LAYERS=doqq06&FORMAT=image/jpeg
&BBOX=-108.7500,33.7500,-108.5000,34.0000
&WIDTH=512&HEIGHT=512&version=1.1.1&service=WMS&request=getmap
&SRS=EPSG:4326
Pay attention to the LAYERS field -- this controls what layer(s) of map are downloaded. Unless you know what you are doing with WMS it's best to stick with an example request provided by the server's admin.
Supported images - Both jpeg and gif output are supported by TopoFusion. Use either "image/jpeg" or "image/gif" for the FORMAT field, depending on the server.
The following fields are automatically added by TopoFusion:
&BBOX=-108.7500,33.7000,-108.5000,34.0000&WIDTH=512&HEIGHT=512
&service=WMS&request=getmap&SRS=EPSG:4326
The BBOX field varies for each map tile downloaded. Width and Height are always 512 in TopoFusion, and IMPORTANT: the server must support output in the EPSG:4326 projection (geographic, lat/lon and WGS 84). It's OK to duplicate these fields, as long as they are the same as above.
When you have set both the Server and Request fields, click the "Save Changes" button to add the tileset. It will show up in the list of Tilesets and also in the Tileset Dropdown selector in the main TopoFusion window.
To test the download, use the Tileset Dropdown to choose your newly added TileSet. The map will change to downloading squares as TopoFusion connects to the server. If successful, imagery will display. Oftentimes it takes a few tries to get the request string correct. The server will respond with an XML file detailing what is wrong with the request. TopoFusion will display the output of ther server in an error message. This can be helpful in figuring out how to modify the request string to get the desired imagery successfully downloading.
Help! I can't get my server to work!
First have a look at the server and request pair in the pre-installed WMS servers. That may give you some clue as to what is wrong. Try to follow those examples as closely as you can (including no additional slashes or spaces).
Otherwise, feel free to email us at support@topofusion.com. We'd be happy to assist you.
Shortcut keys
You can choose two of the custom WMS tilesets to have both keyboard and menu shortcuts. There are two buttons in the Custom WMS form. When you have the desired tileset selected, simply hit one of the "Set as shortcut key" buttons. You can now switch to that tileset by hitting the "1" key on the keyboard (or the "2" key if you hit the second button). Similarly, two shortcuts in the Map menu of the main TopoFusion window will be created for your two tilesets.